So here is a treat for you all, the dish I am about to show you is a family favorite. When we were younger our mother would cook us whatever we wanted on our birthday, and every year at least one of us would pick this dish. It has everything to love, chicken, cheese, and a flavorful green sauce. Now for those who have picky eaters in their family, might not want to disclose exactly what makes the sauce green, because even though you can not taste it, spinach does turn many people off.
This dish does take a lot of time, so this is one dish that is not made too often in my household....actually this was my first time attempting to make it, most dishes the are time consuming are worth it and if there is one time you make a difficult dish this should be it!
Ingredients:
Filling:
5 Whole Chicken Breasts
6 Cups Canned Chicken Broth
Sauce:
6 TBSP. Butter
6 TBSP. Flour
1 TBSP. Oil
2 1/2 Large Onions, Chopped
1 Box (10oz) Chopped Frozen Spinach, Thawed
1 1/2 Cups Sour Cream
4 Green Onions, Cut into Pieces
1-2 (4 oz) Cans Diced Jalapeno Chilies, Drained
Salt and Pepper
1 1/2 Lbs. Monterey Jack Cheese, grated
15 Large Flour Tortillas
Directions:
Filling:
Place chicken and broth in a large pot, bring to a boil and cook chicken through. Remove Chicken from broth and cool slightly. Strain both. Return to pan and boil until it is reduced to 3 Cups. Shred the meat and place it in a medium bow, and chill.
(Tip: to shred my chicken, while it is still warm, I place the chicken in my Kitchen-Aid stand mixer with the dough paddle and turn out...it shreds perfectly every time)
Sauce:
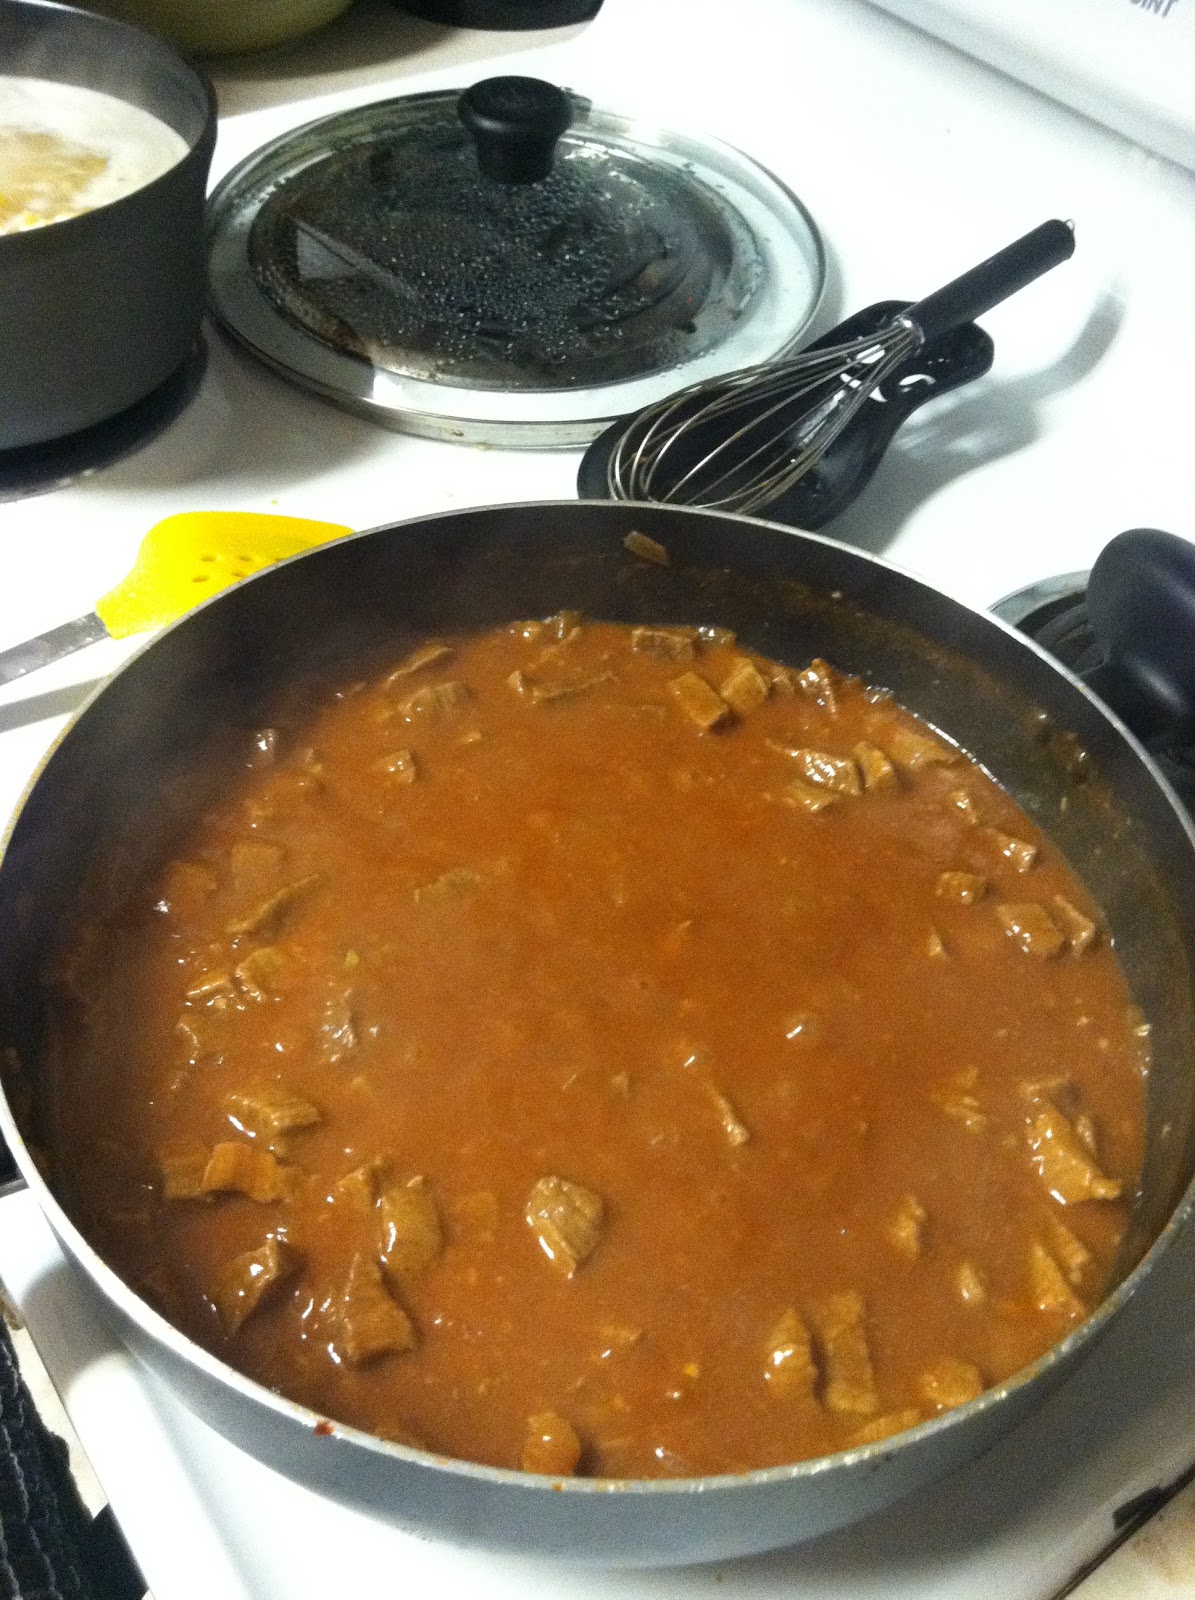
Melt the butter in a large pot over low heat, add the flour and cook until it is light brown in color, stirring frequently, about 5 minutes. Whisk in the reserved chicken broth, increase the heat to medium and cook until the sauce thickens, stirring frequently. Let the sauce cool.
Heat the oil in a large skillet over medium heat, add the onions and cook until they are soft, stirring them when needed, cook about 5 minutes. Add the spinach and stir until heated through, about 2 minutes.
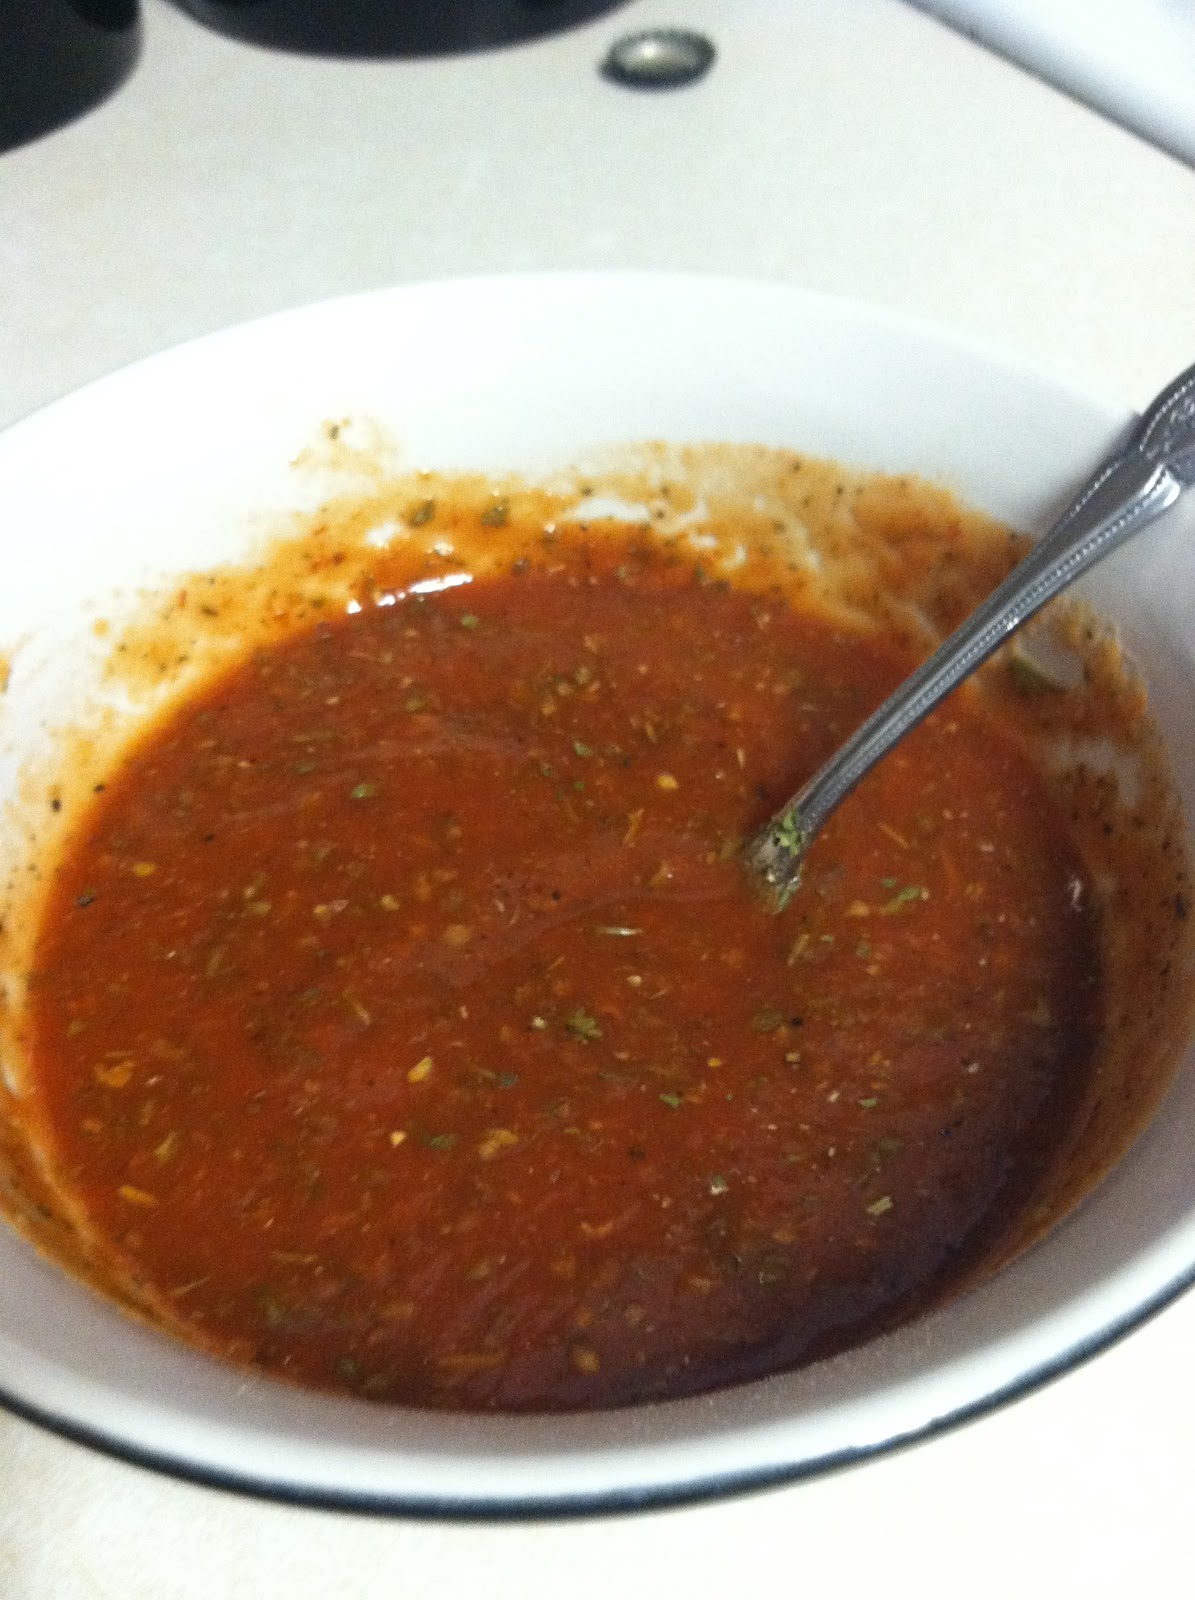
In a food processor or blender, puree the spinach mixture, sauce, sour cream, green onions, and jalapenos, salt and pepper, puree until smooth.
(Tip: 1. Start with half a can of jalapenos and then add after tasting, to determine how much heat you want in the sauce. I use 1 whole can of jalapenos, it gives the sauce enough flavor with a hint of heat, that is perfect for me. 2. Puree in batches, I do about three, this helps make the sauce smooth)
Preheat the oven to 400 degrees. Butter two 9x 13 inch baking dishes. Spread 1/2 cup of the sauce on to the bottom of each dish, and let it spread around the entire bottom of the dish. Add 1 1/2-2 cups of sauce to the shredded chicken, mix in 5 cups of grated cheese. Heat the tortillas in the microwave between paper towels (heat about 3 at a time). Divide the chicken mixture among the tortillas and roll. Arrange seam down in the prepared dishes. Spoon remaining sauce over the enchiladas, cover them with foil.
Back the enchiladas until heated through, about 10 minutes. Uncover and sprinkle with the remaining cheese and cook about 5 more minutes.
I promise if you try these, you will want to make them over and over again, and people will be raving about them. Please do not be deterred by the length of time that this might take to make, I can not stress enough how delicious these are!
ENJOY!