Sunday, March 6, 2016

Living a Low Carb Life in a Starbucks World

Hello my name is Liz and I am a coffee addict.  Living in the upper Mid-West, we have a few options for coffee shops (not as many as let's say, in CA).  Personally, I am partial to Starbucks, it is not too sweet and just enough bitterness to make me aware that I am drinking coffee. 

When I started my low carb life style I had nightmares about not being able to drink Starbucks anymore.  I even cut it out completely for about 3-5 weeks and man was that ROUGH!  So I started searching on Pinterest, I searched "low carb coffee," "low sugar Starbucks," and "low carb Starbucks."  I found some great ideas on how to make my favorite drink, low carb. 

My drink of choice is an iced decaf caramel macchiato, it consists of milk, vanilla flavored syrup, espresso and caramel drizzle.  I made the changes to my drink slowly, first I started by changing my syrup to sugar free syrup.  I had a lot of annoyance when I would ask for sugar free syrup, the baristas would always ask if I wanted skim milk.  NO!!!!!!!!!!! I learned through my researching that the lower the fat content in milk, the more sugar is added to it.  Instead, I would always just ask for 2% milk.    Once I got used to the sugar free syrup ( which honestly wasn't too bad) I then changed my milk.  I changed my milk to whole milk, which I enjoy better than even the 2%, the old adage is correct, fat just tastes better. 

Pictured above is me with my Sister and Nephew in CA, notice the drink in my hand.


Another favorite drink of mine is an iced green tea latte with raspberry syrup, to make this drink low carb just ask for sugar free syrup and again whole milk.


The drink above is the iced green tea latte, also my dog Freyja's treat (her favorite reason going to Starbucks).


I am going to drop a truth bomb on you, I have a Starbucks contact and I may or may not be related to said contact, lets call this contact Drew.  So one day, I went into the store and started ordering my new low carb drink.  Drew asked why I was ordering whole milk, instead Drew told me to order Breve.  Breve is just a fancy way of saying half and half.  This is not exactly my favorite, it takes away from the coffee flavor, but it's still pretty tasty.  I also want to add it does cost $.65  extra to use this milk substitute.

I  want to make sure that everyone knows that your whole life doesn't have to change because of your diet, instead you just have to find substitutions. 


Happy Sipping!!!!

Monday, February 22, 2016

What This has Turned Into

So, this blog started out as a way to share recipes that I have found online and to give any changes that I would/ did make.  My life has been turned upside down in the past few years. 

In the last year, I have had braces put on (yeay for being an almost 30 year old with braces), my husband and I purchased our first house and we welcomed a new family member to our family.

Her name is Freyja, she is part lab, border collie and pit bull and turned one in August of 2015.

Not only have all of those changes happened, but I got a diagnosis that has flipped my cooking life upside down,  in December 2014 I was diagnosed with PCOS.  PCOS is an endocrine issue that make a lot of things in everyday life more difficult.  I am not going to get into all of the medical background, because, well it can get a little gross.  One of the biggest issue that I faced with it is weight gain,  I gained about 70lbs in about 2 years.

 Once I was diagnosed with PCOS, I started reading up about it, trying to figure out how what I eat can affect it and if there are any certain foods that I should stay far, far away from.  After seeing my medical provider, I was started on Metformin, not fun at all.  For about a month (maybe even More) after starting the medication, I became lactose intolerant.  Luckily after about that month, it went back to normal (I can't stay away from cheese).  About 10 months after my diagnosis, my weight loss was not going as fast as I would like, so I started seeing a dietician.

If you are to know anything about me, it would be that I LOVE bread, not a little bit, a whole lot, like an unhealthy amount of bread love going on.  So when my dietician said that I need to cut my carbohydrate intake by a lot, I had a mini freak out.  I am going to let you in on a little secret....life with limited carbs, isn't so bad.  I know GASP!

My dietician is awesome, she is a big proponent of having a cheat meal/day every once in a while, which makes my life a little easier.  I need something to work to and having to be "on" all the time becomes too overwhelming and that's when I stop following the diet.

Since I started the diet, about 5 months now, I have lost 15 pounds, which might not be a lot to most people but huge to me.  Having PCOS make it VERY HARD to lose weight.  Since my diagnosis I have lost a total of 25 pounds.

After months of being monitored by my medical provider, it was found that the cysts (the C in PCOS) were not going away.  Usually the cysts last 2-3 months and with hormonal help, they go away, of course, not in my case.  In February 2016 I had a Laparoscopy Cystectomy (among other things), this surgery was to better my way of life. 

The day of surgery was MISERABLE, my surgery was bumped twice due to two emergent C-sections.  I was able to have what is called day surgery, which means that I got to go home the same day as my surgery,  I was in A LOT of pain that day.  The next day, it wasn't as bad, my husband was able to go to work.  He text me every two hours to see how I was doing and if I needed anything.  My Husband was amazing through all of this, before leaving for work he would fill my water bottle, bring me a protein shake and my pain medication. 

My plan for this blog is to share my struggles, my wins and the meals that I make for the Hubby and I.  I have found quite a few people who are suffering the same diagnosis as I and others who are just on the same diet journey that I am. 

If you have any words of wisdom or questions, please feel free to comment.

Liz

Wednesday, September 25, 2013

Zesty Chicken

     Now I can tell you because the deceptive name of this dish I have been burned by ordering dishes with "zesty" in the title at restaurants when I was a child, eventually I did learn my lesson but it did take quite a few disappointments along the way.
    This dish is simple only take a few ingredients and a few minutes to whip it together and then let bake, which in my opinion is the best kind of dinner to make on a week night and if you cut of the chicken into tenders the baking time gets shorter...which is even better since I don't get off of work until 5:15 four nights during the work week, which I know is not rough for those of you who work 8-5 jobs, but I do work 9 hour works days so I can only work a half day on Fridays, but now I am getting off topic.  ZESTY CHICKEN is so good and so juicy it has been a family favorite of since before I was married and I made it for the Hubby when were dating and I am pretty sure that is one the dishes that made him want to marry this, just saying.
So all you need is going to be:

2 Chicken Breasts
1/2 tsp. Dry Mustard
1 C. Plain Yogurt
1 Tbsp. Minced Parsley (I actually prefer dried for this dish)
2 tsp. Lemon Juice
1/2 C. Mayonnaise
3 Tbsp. Soy Sauce

(I usually double this if I am making more than just two chicken breasts)

Now this dish is good with egg noodles or plain rice, but the Hubby is a freak of nature and does not like most rice dishes sooo.......EGG NOODLES IT IS


And now for how you make this glorious feast:

1. Place the chicken breasts into a baking dish and then preheat the oven to 350 degrees.
2. Combine the remaining ingredients in a bowl and whisk together until smooth.

3.  Pour the sauce over the chicken and then bake for 45 minutes (or until done for full breasts)

4. About 15-20 minutes before the chicken is done put a pot of water on to boil, then once boiling cook the noodles until they are done.
5. Serve sauce over the noodle (or rice if thats your thing) and eat.


My mom always blended the sauce in the blender to make it a little more creamy...but I don't have time for that extra step or extra dishes for that matter so I just pour it directly over the noodles.

I swear to you this stuff is addictive I make it often and each time the Hubby says we don't have it enough, I am sure if I made it ever week he would be okay with it.  So go and make this gem and then let me know how it turns out for you!


A New Name and Hopefully a New Blog

     I have decided to rename this blog not only did the previous name seem a little long, but also I wanted to be able to write about everything from products that I am using to frustrations that I am having with the Hubby, this blog will mainly still be about my favorite hobby (cooking) but I just did not want to limit myself.  I am hoping to be able to keep up with this thing now that I am down to one job and have quite a bit more free time than I had in the past.  Please don't judge me if it is not an every week update type blog...I mean I do have a life, but as I sit here writing this with my cup of hot chocolate I realize that it should not be hard to at least update once a week, so let that be my goal (again not a guarantee).  As summer comes to a close and football starts to run the television I will let you know that we have a tradition in our household of some sort of soup on Sunday, we do affectionately call it Souper Sunday, so for a few weeks you might be seeing a lot of soup and thanks to Pinterest ones that the Hubby is not used to me making.
     So from here on "A Modern Day Wife" will begin, hope those of you who actually read this enjoy the change, and if not....just keep that to yourself.

Liz

Wednesday, January 2, 2013

Udon Noodles and Beef in a Sweet Ginger Sauce

I am a Asian food junkie, I love ginger and sesame oil and those are two ingredients that are very prevalent in Asian cooking. So when I was scoping out some great recipes on Pinterest, I came about one that sounded pretty good,  of course the curse of the north struck again and I was not able to find all of the ingredients that it called for, so what did I do? I found what I could and made my own recipe, and may I say it is delicious!  First I make the sauce and marinate thinly sliced beef for at least an hour.

Ingredients:
1 lb. Steak
Udon Noodles

The Sauce:

4 Tbsp. Minced Ginger
2-3 Cups finely sliced Scallions/ Green Onions
1/2 Cup chopped Cilantro
5 Tbsp. Sesame Oil
4 Tbsp. Rice Wine Vinegar
1/2 Tsp. Chili Oil
2 Tbsp. Soy Sauce
4 Tbsp. Honey
1 Tsp. Salt
1 Tsp. pepper

Combine all ingredients into a smooth sauce.  Put the thinly sliced beef strips into the sauce and put in the refrigerator for at least an hour.  Personally I always forget to make this ahead so we usually have a late dinner on weeknight because of this, but I promise you it is well worth it to 1. pay for better cuts of beef and 2.  marinate the beef, it makes a HUGE difference.

 
While the meet is marinating is when I start the noodles, I buy one package of udon noodles from the grocery store inside the package there are three bundles.  I usually use two of the bundles so we can have left overs to bring to work.  Boil the noodles for about 10 minutes and then drain and rinse, they do tend to have very salty flavor. I set the noodles aside until I am ready for them.


When the time is right heat a skillet with some oil in it, when it is nice and hot remove the meet from the marinade/sauce and cook until browned.  Promptly remove the meet from the skillet and drain the liquid from the pan, put the marinade into the skillet and heat up until it is boiling.  Once boiling add the noodles and heat through, I like to let the noodles sit for a while on the heat so a crust forms. Toss the noodles in the sauce, and just an FYI I cook the noodles so that they become stiff and not so gummy. 


Serve the noodles with some beef strips on top and you have a perfectly delicious meal.  I would like to grate some carrots into the sauce at some point but the hubby doesn't want me to change a thing about it....I guess that is a good thing.

 Please ENJOY!

Wednesday, August 22, 2012

Roasted Fresh Veggies

Last week my sister and nephew came into town, so the Hubby and I took them to one of the many lakes up here, my mother-in-law was at the cabin, so we had a nice day surrounded by family.  As we were leaving my mother-in-law gave us a bag of fresh veggies which included carrots, two types of potatoes and green peppers.  So when making dinner the other night I knew I had to finish off the vegetables before the went bad so I roasted them in the oven with fresh herbs and olive oil, and can I say, they were great.  Now the recipe I am going to share with you is not very precise because when you have fresh vegetables they are not the same size as vegetables that you get from the store and for the amount of herbs its however you like and feel free to add or subtract herb depending on what you enjoy or don't enjoy.

Ingredients:

1 Green Pepper
2 Red Potatoes
2 Idaho Potatoes
3-5 Carrots, Peeled
1/8-1/4 C Olive Oil
1 tsp. Salt
1tsp. Garlic Powder
1/2 tsp. Onion Power
(I only used the powder because I did not have garlic cloves nor an onion in my kitchen at the time)
handful  mixture of Fresh Basil, Rosemary, and Parsley, chopped.

1.  Preheat the oven to 450 degrees.
2. Wash and chop all of the vegetable, I do the potatoes last.
3.  Mix in the salt, garlic and onion powder, and seasonings.  Stir well and place on a baking sheet and bake for 30-45 minutes, depending on how big you chop your veggies.

 
4.  If you like feel free to stir the veggies half way through the baking time, I don't because I like the crispy sides that come when you let it bake.

The texture and taste was perfection, I even liked having the powders used because it brought a little extra in, that I can not explain.  I urge you to mess around with the amounts and  types of seasoning that you use, possibly trying dehydrated onions or oregano.  If you are looking for a way to have fresh herbs of you own without having to buy them from the grocery store, I started planting my own because it is SOOOOOOOO much cheaper than buying them from the store.


Please make this as a side dish and ENJOY.

Sunday, August 19, 2012

Sweet and Sour Chicken

I LOVE sweet and sour chicken, honestly I am pretty sure I  could eat it everyday.  So when I find a recipe that not only has me making the chicken the way I like it, but also has me making the sauce, I have to try it.  The hubby likes Chinese food, but he is very wishy-washy when it comes to liking it.  Now this recipe does take some time for preparation but the ingredient list is very small and most of them I already had in my kitchen.

Ingredients:

Chicken:
2-3 Boneless Chicken Breasts
1 C. Cornstarch
2-3 Eggs, Beaten
1/2 C. Corn Oil (vegetable oil will work too)
Salt and Pepper

Sauce:
3/4 C. Sugar
4 Tbsp Ketchup
1/2 C. White Vinegar
1 Tbsp. Soy Sauce
1 tsp. Garlic Salt

Directions:
1.  Preheat the oven to 325 degrees.
2.  Cut the chicken into cubes and season with salt and pepper.
3.  Dip the chicken into the cornstarch, and coat them all over, the dip the chicken into the eggs.
4.  Heat the oil in a skillet and cook the chicken until it is browned, but not thoroughly cooked.
5.  Place the chicken on a 9x13 greased baking sheet.
6.  Mix all of the sauce ingredients together and whisk until smooth.
7.  Pour the sauce over the chicken and bake for 45 minutes-one hour.


This chicken is moist and delicious, and the sauce is perfect!  I served this with my fried rice recipe and it was just as good as I find at take-out restaurants.  The only warning I can give you, is when you are baking the chicken to be careful when you open the oven door, the hot vinegar burns your eyes so make sure your are facing away from the oven when you open it.  Other than that, make this and ENJOY!

Wednesday, May 30, 2012

Mushroom Scampi

As I have said in previous posts I have a strange taste in food, since I was a child I have loved mushrooms......I know most kids cringe at the word, but I could not get enough of them.  Lucky for me I found a husband who loves them as much or more than I so I can make things like mushroom scampi for an appetizer and it will actually get eaten.  This recipe is very similar to a shrimp scampi but obviously with mushrooms and a couple other differences.

Ingredients:

1 lb. Mushroom Caps
3 Large Garlic Cloves, Minced
2 Tbsp. Whole Balsamic Capers
2 Tbsp. Olive Oil
1/4 Cooking Sake
3 Tbsp. Butter, cut up
2 tsp. Lemon Juice
1/4 C. Fresh Parsley

Directions:

1. If needed slice the stems off the mushrooms and place in a shallow baking dish.
2.  In the baking dish add the capers, garlic, olive oil, and sake and mix until well coated.
3.  Once mixed well, place butter on top and bake at 450 degrees for 7.5 minutes.
4.  Take dish out of the oven and stir the mushrooms, then put it bake in the over for another 7.5 minutes.
5. Take dish out of the oven, then stir in the lemon juice and parsley and serve.

This appetizer is great with some crusty bread, personally I go and get some from this awesome sandwich place we have here called Grand Junction (if you are ever in Fargo, ND make sure you stop at a Grand Junction). If you even semi like mushrooms this appetizer is for you it is simple and fresh tasting


Enjoy

TaterTot Hotdish

I have lived in many different places in the U.S. including Pennsylvania, California, Minnesota and North Dakota, and it was not until I moved to the Midwest did I hear of a "hot dish" and for all of you out there who have no idea what a hot dish is, it is simply a casserole.  If I had ever had this dish before moving here I would never call it a hot dish but since I did not I will use the mid-western terminology. The reason I enjoy this meal so much is for the simple fact that it is all in one dish and I can simple slap it together with out thinking much and you can improvise and it still taste good.  When making this I use canned vegetables so whatever I have in the pantry is what is going in.  Although the hubby and I do prefer green beans and creamed corn.

Ingredients:

1 lb. Ground Beef
1/2 Onion Chopped/ or handful of Chopped Dried Onion
1 Can Cream of Mushroom Soup
1 Can Cream of Chicken Soup
1 Can French Cut Green Beans, Drained
1 Can Creamed Corn
1 Bag Frozen Tater Tots

Directions:

1.  Preheat the oven to 375 degrees.
2.  In an oven safe dish spread the ground beef evenly over the bottom.
3.  On top of the beef, spread the onions and then the cream of chicken soup.
4.  Then spread the vegetables on top.
5.  Place the tater tots on top in a single layer and then spread the cream of mushroom soup.
6.  Bake for 55 minutes and then let sit for 5 minutes before serving.

Honestly this is a simple meal that will please not only yourself but the whole family, even the kids.  This dish is one that will help clean out your pantry, so I like making it when ever I feel I am getting too much stuff in there.


Enjoy

Sunday, May 20, 2012

Pesto Stuffed Shells

Since I have started this blog I have made this meal twice, which I have not done with any other dish.  So, obviously its good.....really, really good!  Its creamy and flavorful and oh so tasty! It uses a prepared pesto and I have used a different brand of pesto each time, both were great but the Hubby preferred the Classico brand, it is bigger and cheaper than the other brands that are offered at our grocery stores. The awesome thing about this meal is that you can make a part of it the day before and have it ready for the next day.  I pre-cook the chicken and shred it the night before, that way, dinner the next day doesn't take that long, and after a long day of work the easier the better for meals.

Ingredients:
16 Jumbo Pasta Shells
4oz. Cream Cheese, Softened
1 C. Grated Parmesan Cheese
1/4 C. Mozarella Cheese
3 Heaping Tbsp. Prepared Pesto
4 Chicksen Breast, Cooked and Shredded
2 -3 Cloves of Garlic, Minced
Pasta Sauce

Directions:
1. Cook and shred the chicken, I use a trick that I have previously mentioned in the "Green Enchiladas" post where I put the hot cooked chicken in my kitchen-aid stand mixer and mix, it shreds perfectly.
2.  Cook the pasta shells as directed, drain and set aside.
3.  In the stand mixer, mix the chicken, cream cheese, mozarella cheese, parmesan cheese, pesto and garlic.


4.  Fill each shell with the chicken mixture and arrange in a 13x9 pan.  Once the pan is filled spoon pasta sauce on top and spinkle with mozarella cheese.


5.  Bake the shells at 350 degrees for 30 minutes.

This dish is so yummy, I have them for lunch for the next two days and never tire of it....always a good sign. This meal is a crowd pleaser and does not take too much time to make, so you can still have a night, which is what I love about it!

Tip: add more or less garlic depending on what you like, I LOVE garlic and I add three cloves, there is some garlic in the pesto so start with adding one clove and see how you like it.


ENJOY


Wednesday, May 9, 2012

Best Garlic Bread...EVER!

So I searched all over the internet today to find the "perfect" garlic bread recipe...all I could find was garlic bread with cheese on top, which by the way is cheesy garlic bread not garlic bread (really annoying to search the internet for garlic bread only to come up with cheesy)  So I took a little from one recipe and a little from another to make what sounded like perfect garlic bread....and I found it!!!!!!!!! This is simple and most of what this recipe calls for I already had the only part I did not have was the bread, not that all of you will have everything needed but none of what is called for hard to find/get. To start with get a loaf of french bread!

Ingredients:

 1 loaf French Bread, sliced in half
5 Tbsp. Butter, at room temp.
2 tsp. Olive Oil
3 Garlic Cloves Crushed
1 tsp Dried Oregano
1 Bunch of Chives, chopped
Salt and Pepper, to taste

Directions:

1.  Preheat the broiler.
2.  Slice the bread horizontally and place on a baking sheet.
3.  Mix the rest of the ingredients together until smooth.
4.  Spread the mixture on the bread, and place under the broiler and broil for about 4-5 minutes, checking often.


Tip:broil the bread just before you want to eat, it cools quickly and it tastes soooooOOOooo good when it hot.  I honestly have never had better garlic bread in my life, and that includes in restaurants! Feel free to add more or less garlic, depending on how much you like garlic.  Next time you need a nice and delicious side, please make this and you will want to make it for every meal after that!


ENJOY

Monday, May 7, 2012

Orange Steak w/ Fried Rice

I love all sorts of food, I am a picky eater, but I like foods from all over the world.  I have opened my hubby's eyes to world of food and it has been so much fun watching him become more adventurous than I. This dish is one of our favorites and you can interchange chicken for the steak if you prefer.  The reason I love this is because there are very few ingredients and it takes little time to make.

Orange Steak:

1 lb. Steak, thinly sliced
1 1/2 C. Light Asian Toasted Sesame Dressing
1 1/2 C. Orange Juice
1 bag of Asian Vegetable Medley
1 Tbsp. Vegetable Oil


Directions:
1.  Heat a deep pan over high heat, put oil in the pan and let heat up,  once the pan in hot stir fry the steak for about 5 minutes.


2.  Once the steak is pretty much cooked through, add the juice and dressing and vegetables, let simmer for about 7-10 minutes.


Fried Rice.


2 C. Cooked Rice
1 C. Frozen Peas and Carrots Mix
2 1/2 Tbsp. Soy Sauce
2 Eggs
2 Tbsp. Vegetable Oil
1/4 C. Green Onions


1.  Preheat the oil in a pan over medium heat,rice and stir  rice begins to brown.


2.  Add soy sauce and vegetables, cook for about 2-3 minutes.


3.  Make a hole with the rice and vegetables in the middle of the middle of the pan, crack an egg then stir it until the egg is fully cooked, add the second egg and do the same.


4.  Add the onions and cook for about 1 minute, then serve.


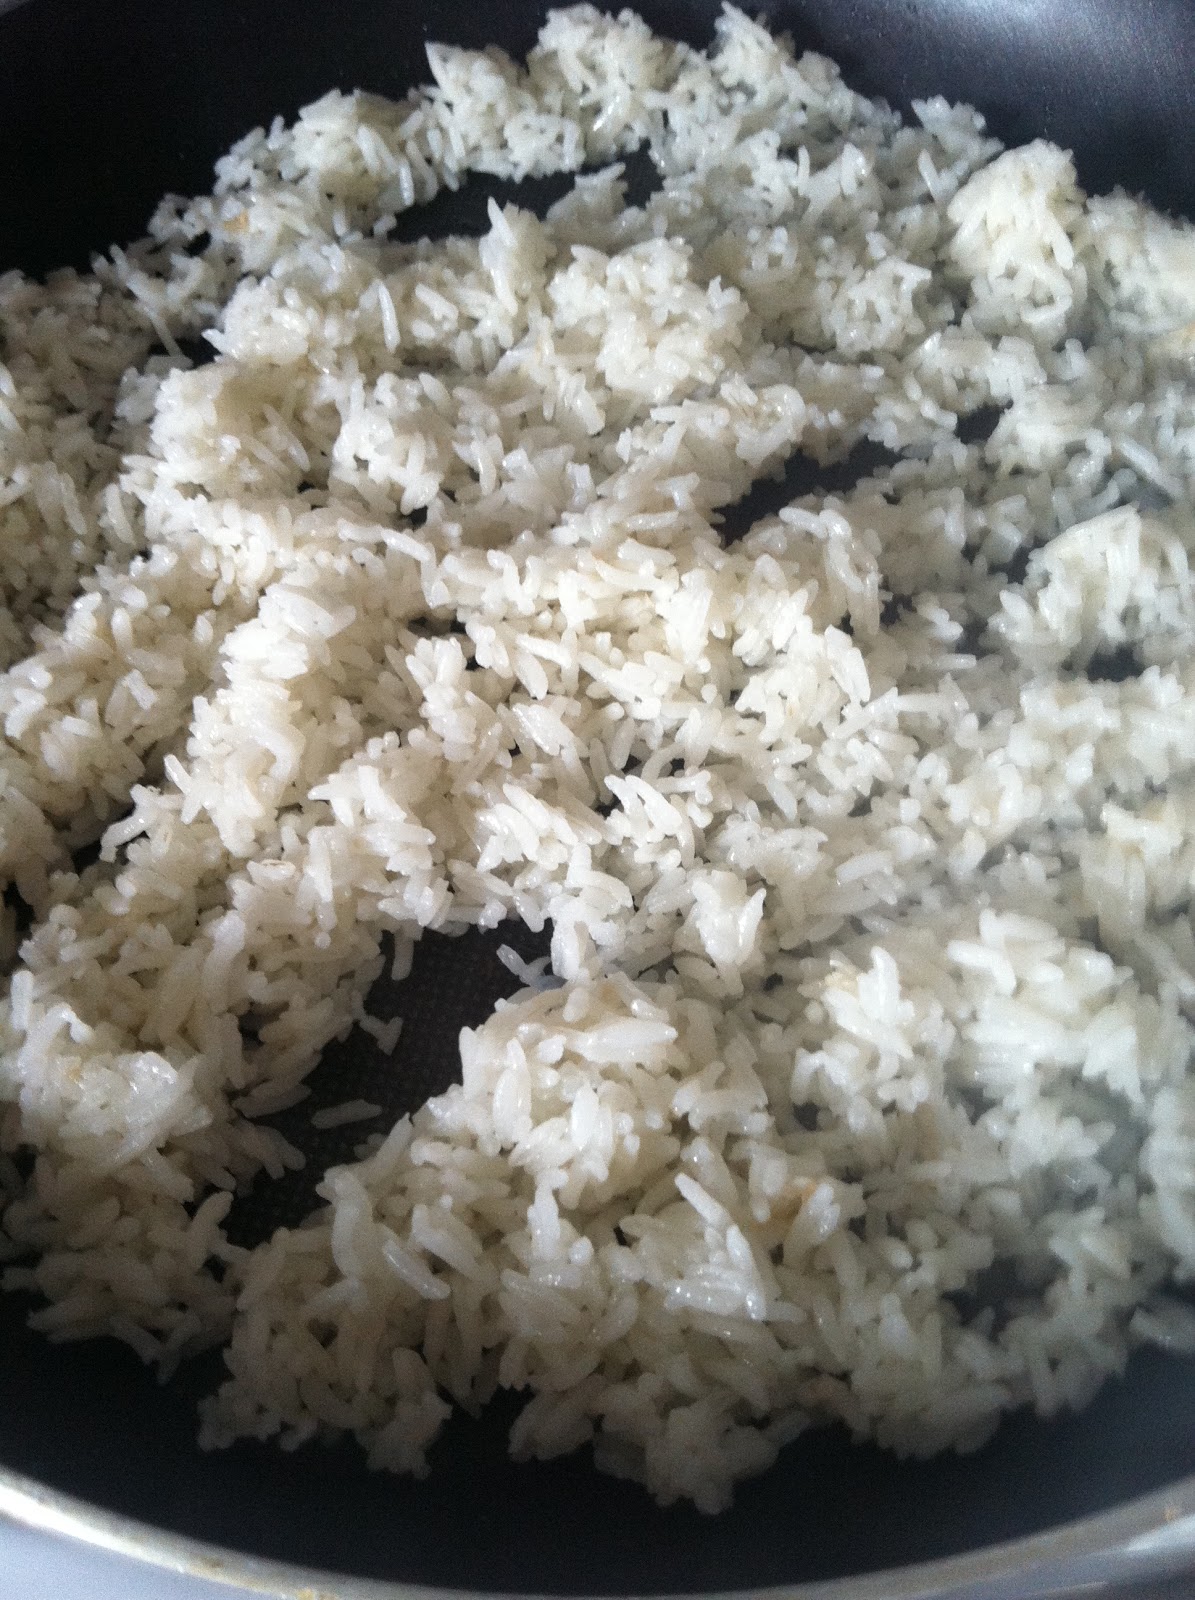
I could eat the fried rice all by itself as a meal it is so tasty, and even if you do not like onions, please try some in the rice, it adds a nice flavor.   To save yourself some time, you can make the rice the night before and refrigerate it, it makes no difference to the taste or consistency to the fried rice.


ENJOY!

Easy Grilled Teriyaki Chicken and Fresh Green Beans


 As I have posted before I am a huge fan of ways to make my life more simple, and instant/prepared things, so for this meal I bought store bought teriyaki sauce and marinated chicken breasts for about 45 minutes.  My hubby helped with cooking since really the grill is his domain.  I made rice using  my rice cooker with one cup of rice, one cup or water and 2 Tbsp. of butter.  After taking the chicken out of the marinade I left a little in a dish to baste the chicken with and let the hubby do his thing. With the rest of the marinade let it boil in a pot while whisking, serve it over the rice and chicken. What I did make from scratch was the green beans, the hubby and I are huge into vegetables and so be warned we make a lot at a time.


Ingredients:
1 lb Fresh Green Beans
I Tbsp. Butter, divided into four squares
1 Tbsp. Dehydrated Chopped Onions
1 tsp. Garlic Powder
1/2 tsp. Onion Powder
Salt and pepper to Taste.

Directions:
1.  Wash and cut off the ends of the green beans.
2.  Steam the beans over a pot of boiling water about 1 inch deep, steam for about 7-10 minutes, the beans will turn a bright green color.
3.  Meanwhile place the butter and seasoning in a bowl, once the beans are steamed properly place them in the bowl and toss.


Towards the end of the grilling process place some pineapple rings on the hot grill and let the sugars caramelize. Put everything on a plate and eat, the chicken, pineapple and rice go so well together!


ENJOY!

Liz's Perfect Pork Chops

Sometimes I read blogs or posts about all the things people make and how they seem to spend so much time in the kitchen how could they possibly have a life, sometimes I even feel bad because I tend to cut corners, I use prepared/ instant things a lot, they make life so much easier and honestly who has time to prepare a full meal from scratch (definitely not me).  I am going to be honest with all of you, I probably use at least one prepared/instant item in everymeal that I make.  Tonight's dish is no exception, I made a quick seasoning rub for my pork chops and a simple mashed potato recipe, and yes an instant pork gravy mix....gasp!  This is a simple and easy pork chop recipe that I can easily make after working a 9 hour shift.

Pork Chops:

Ingredients:
3-4 Pork Chops
2 Tbsp. Butter
1/2 tsp. Salt
1 tsp. Garlic Powder
1/2 tsp. Onion Powder
1/2-1 Tbsp. Rosemary
1 tsp. Ground Pepper

Directions:
1.  Set a pan over high heat and let the butter melt.  Preheat the oven to 300 degrees.
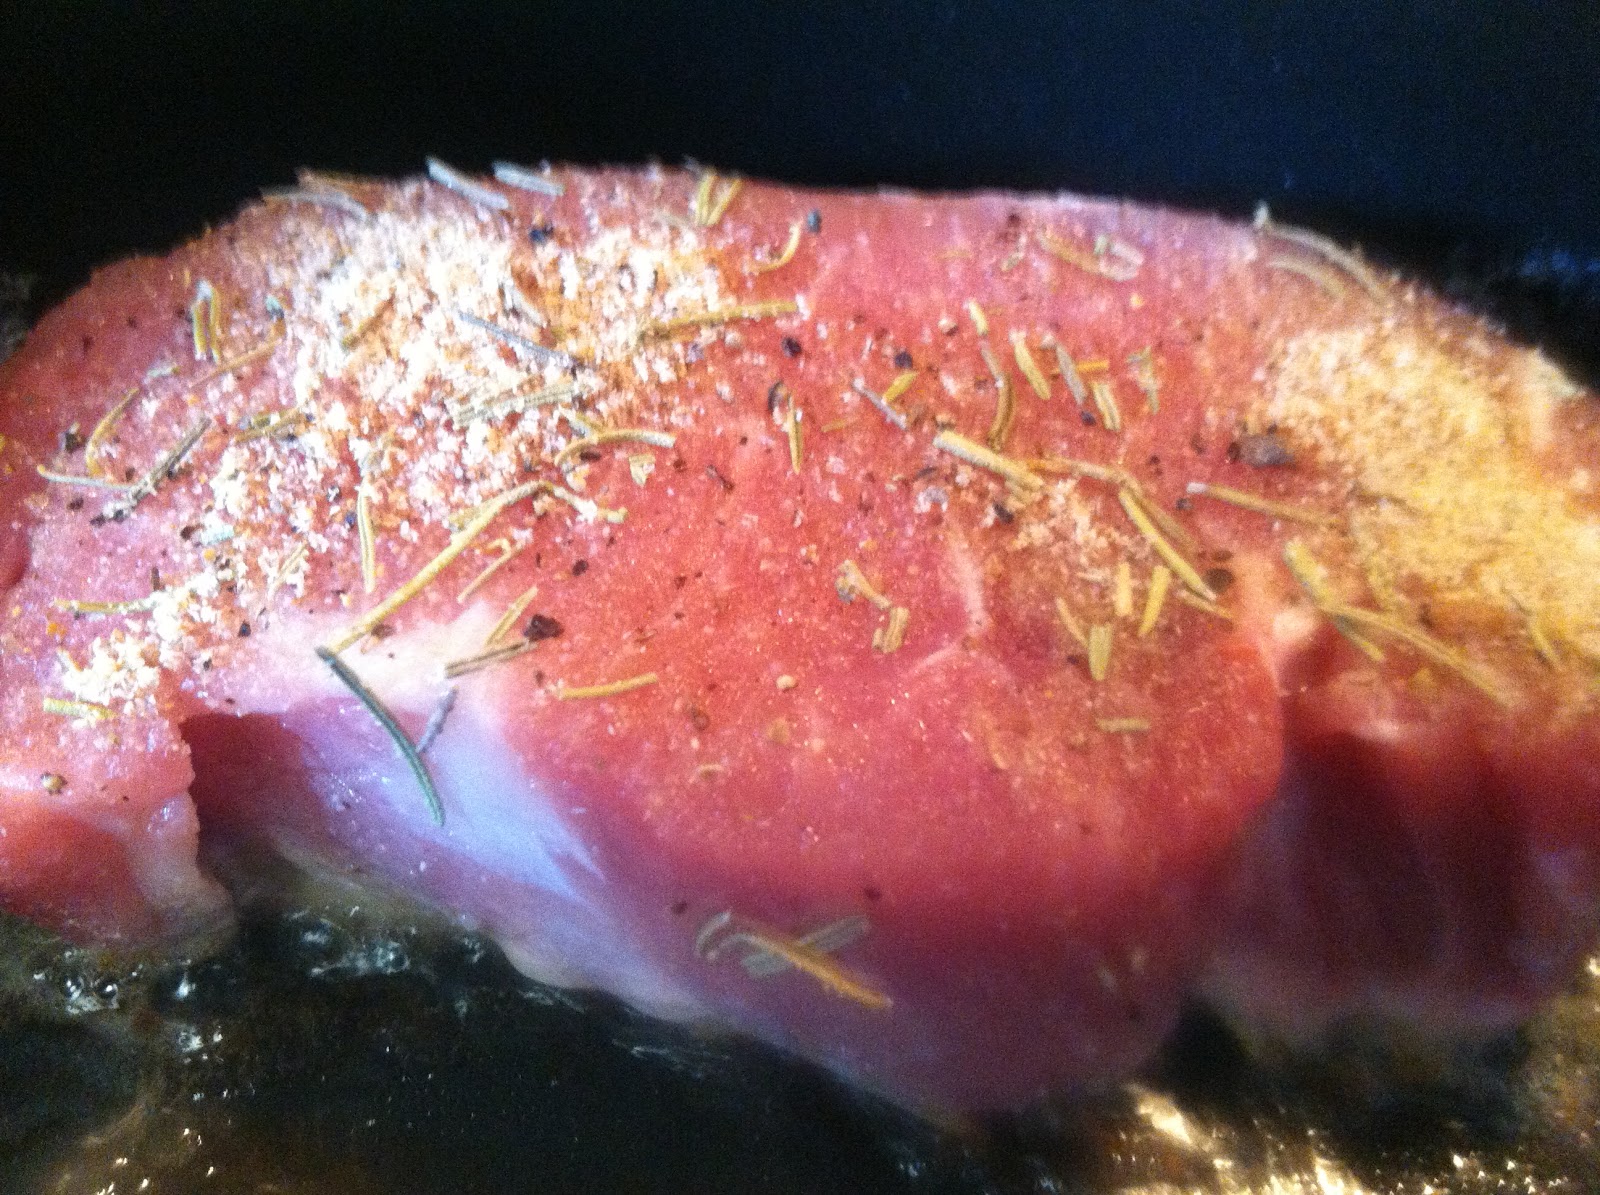
2.  Meanwhile mix together the seasonings and sprinkle over the pork chops and rub it in.


3.  Once the pan is hot, place the chops in and sear for about 5 minutes on each side.
4.  Place the chops in a oven safe dish and cook for about 30 minutes.


Mashed Potatoes:

Ingredients:
4 Potatoes (Rule of thumb is 2 potatoes per person you are cooking for)
2 Tbsp. Butter
1/4 C. Half and Half
1 tsp. Italian Seasoning
1/2 tsp. Garlic Salt

Directions:
1.  Chop up potatoes into smaller pieces and place in a pot of boiling water, boil until the potatoes are fork tender (you can place a fork into the potatoes and it does not stick, they just fall apart).
2.  Once the potatoes are cooked, drain them and place them in a mixing bowl with the rest of the ingredients, blend until smooth.  Feel free to add more half and half until you get the desired consistency.


As I was mixing the potatoes I mixed together the gravy mix, it only takes about 2 minutes to make and honestly it is pretty tasty so why not use it,  granted I did add some ground pepper.

Place all on your plate and enjoy, such a tasty meal with out all the hassle of having to suffer  in the kitchen all night. 


ENJOY!